Page 2 of 3
Re: My new Roadmaster 4 Door
Posted: Wed Apr 17, 2013 9:37 pm
by Smartin
Re: My new Roadmaster 4 Door
Posted: Wed Apr 24, 2013 8:24 pm
by Smartin
Re: My new Roadmaster 4 Door
Posted: Wed Apr 24, 2013 9:09 pm
by dvonk
as always Adam, looking good!
any tips on getting that horrid 1-3/4" nut off the inside cowl to remove the brake master cylinder? i obviously dont have "Wrench 6618"...

also, what kind of paint do you use for the brake fluid reservior?
Re: My new Roadmaster 4 Door
Posted: Wed Apr 24, 2013 10:02 pm
by 58limited
I use a long screw driver and a hammer to get the nut off. It is not easy but it works.
Re: My new Roadmaster 4 Door
Posted: Thu Apr 25, 2013 8:20 am
by dvonk
when i first looked under the dash at the master cylinder rod i was amazed at the idiocy of such a large nut in such a stupid place.

hammer & screwdriver it is...
Re: My new Roadmaster 4 Door
Posted: Thu Apr 25, 2013 8:43 pm
by Smartin
I spun the whole unit off from the outside, but I had to wedge a pair of channel locks up in there to hold the nut while I spun it. I remember trying to get it off of my Limited, and I actually ended up cutting the nut off very carefully with my die grinder...the thing would not spin. I had to beat it out of the hole, even after the nut was off.
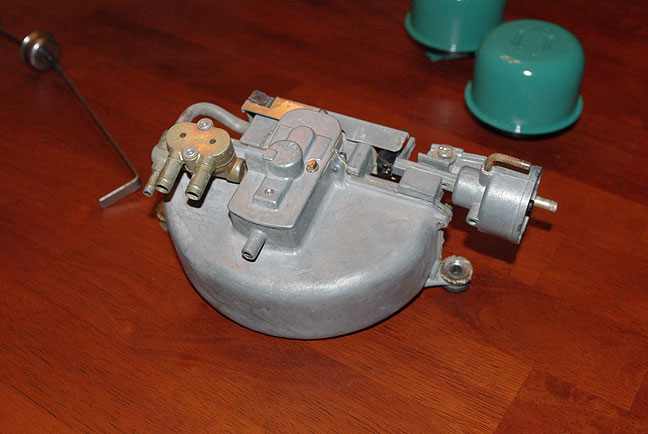
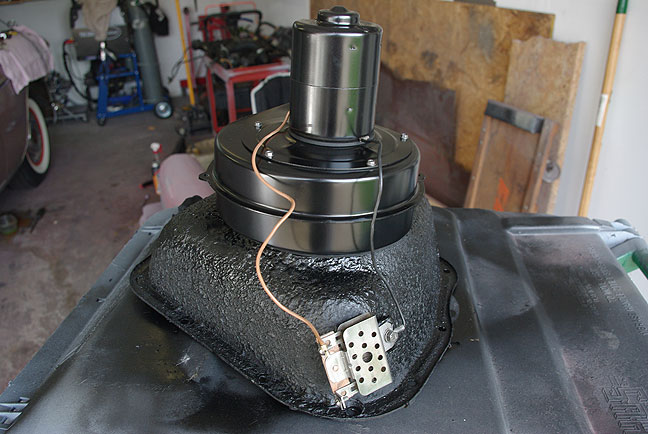
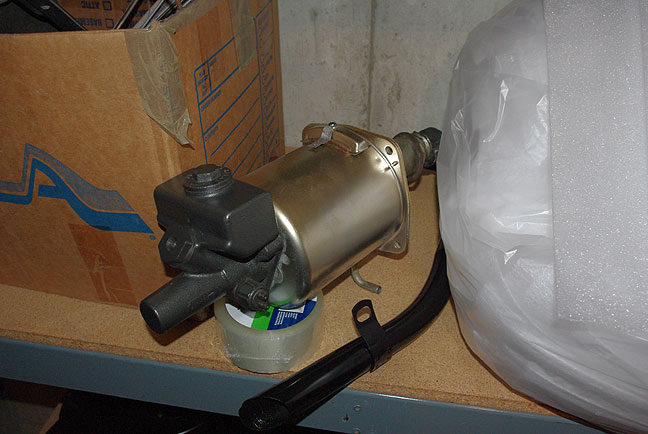
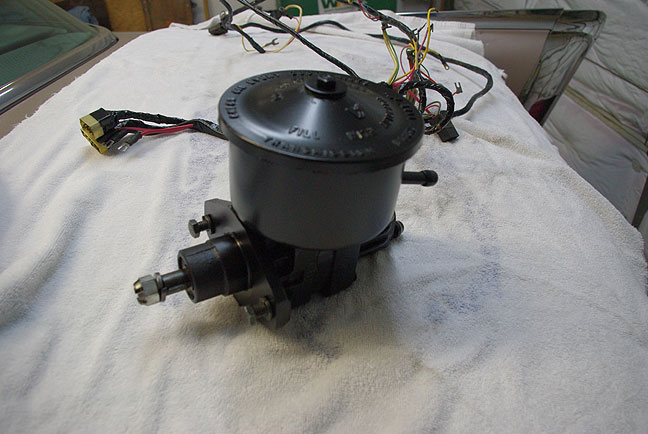
The actual cast part of the MC is just the Duplicolor cast iron color paint. The power booster was stripped and then painted with Rustoleum "Chrome" paint. I then misted it with the same type of "Brass" paint. Makes it look pretty close to the original gold cad plating. The chrome paint actually has a nice reflective quality that I haven't seen in most chrome paints in the past.
Re: My new Roadmaster 4 Door
Posted: Fri Apr 26, 2013 1:01 pm
by dvonk
ugh, i hope mine isnt as bad as your Limited was... but the amount of work it took just to get that stupid clevis pin out might be foreshadowing!

nevertheless, your paint job looks great!

Re: My new Roadmaster 4 Door
Posted: Sat Apr 27, 2013 5:13 am
by Smartin
Thanks! It took me about 15 minutes to get the pin out. Much longer than anticipated!
Re: My new Roadmaster 4 Door
Posted: Sat Apr 27, 2013 11:02 pm
by Smartin
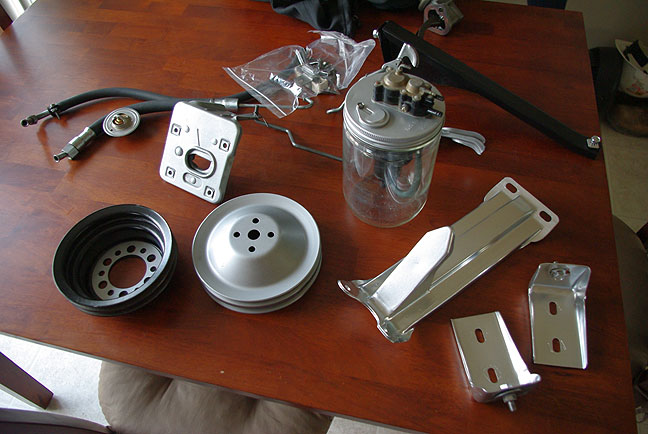
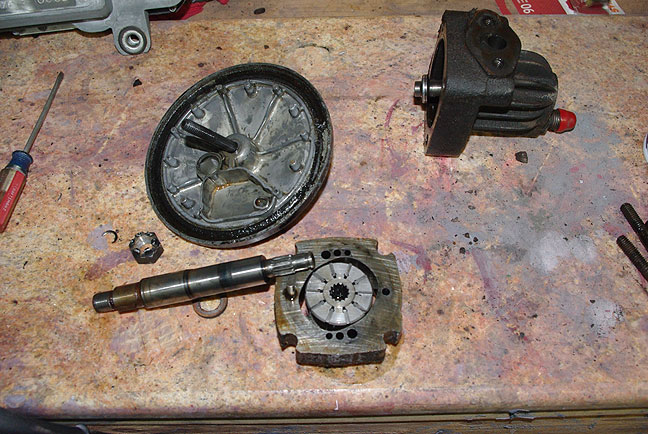
Upon my attempt to remove the power steering pump pulley from the shaft, I ended up breaking the c-clip inside the pump and pulling the entire shaft out. Ooops. It looks like I might be able to save the pump, as long as I can find a C-clip that will hold the shaft in. When I initially pulled the pump apart, it just fell into pieces, and I was unsure of how to reassemble it. I think I have it now.
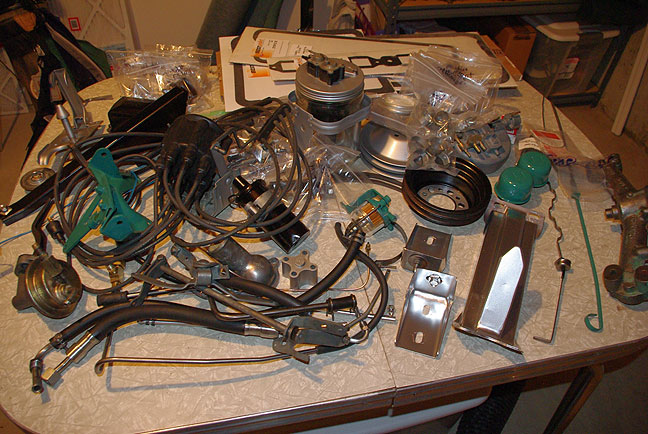
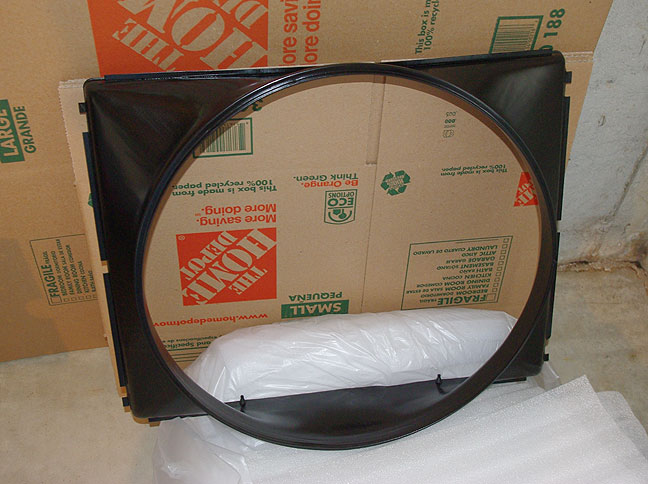
Generator, steering pump bracket, fan, and trans cooling line ends are done.
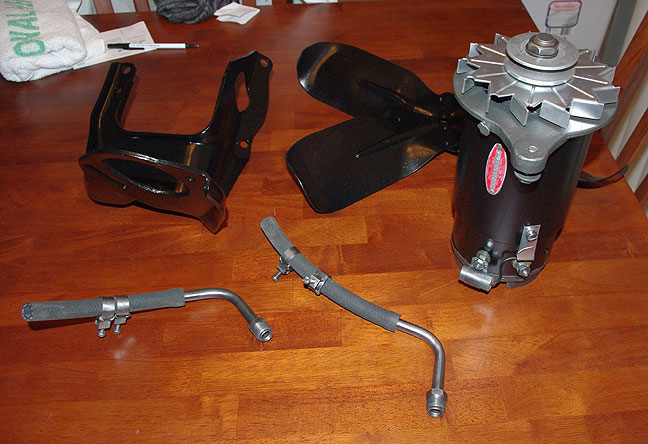
Oh yeah, after I scratched my head about the pump shaft for a bit, I resumed cleanup on the pulley.

Re: My new Roadmaster 4 Door
Posted: Mon May 06, 2013 8:23 pm
by Smartin
Re: My new Roadmaster 4 Door
Posted: Sat May 11, 2013 10:30 pm
by Smartin
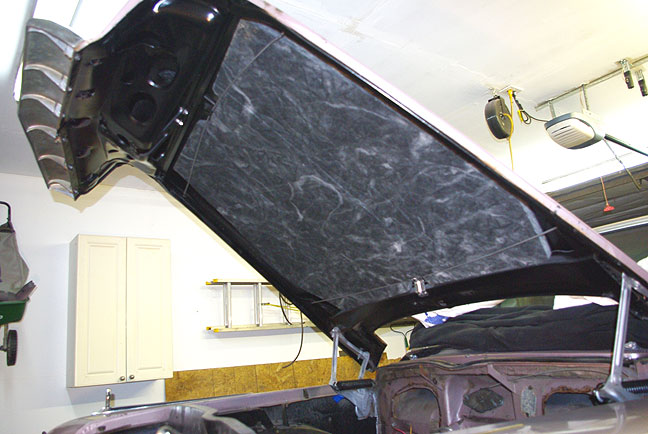
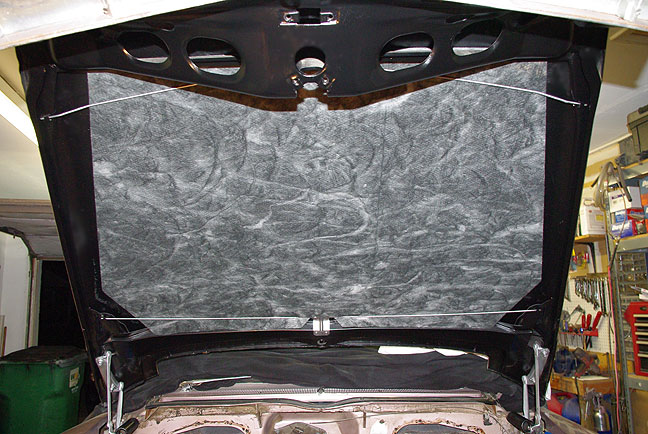
The underside of the hood is finished...hinges are cleaned up. I did not install the latch yet, because of its incredible ability to become a spear to the back of my head when working in the engine compartment. That will be installed nearly last in this process.
Re: My new Roadmaster 4 Door
Posted: Sun May 12, 2013 7:09 am
by dvonk
very nice... from where did you buy the hood liner?
Re: My new Roadmaster 4 Door
Posted: Sun May 12, 2013 10:03 am
by Smartin
I got it from CARS.
Re: My new Roadmaster 4 Door
Posted: Sun May 12, 2013 9:55 pm
by Smartin
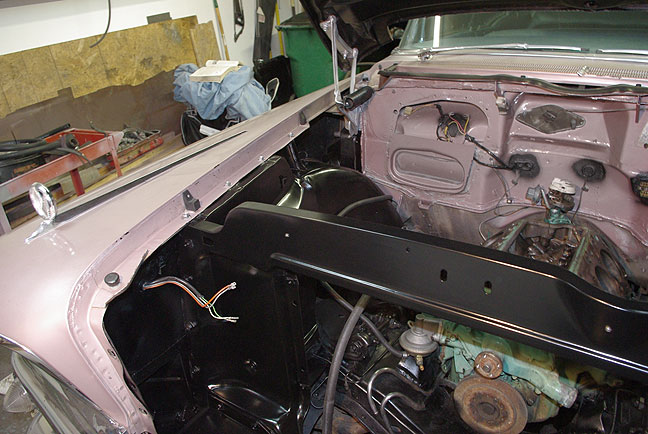
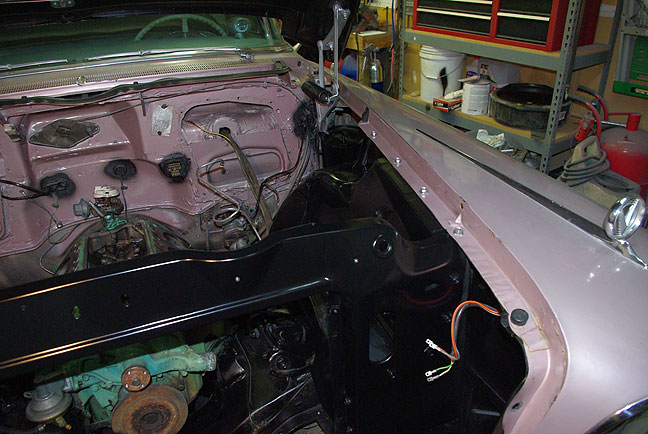
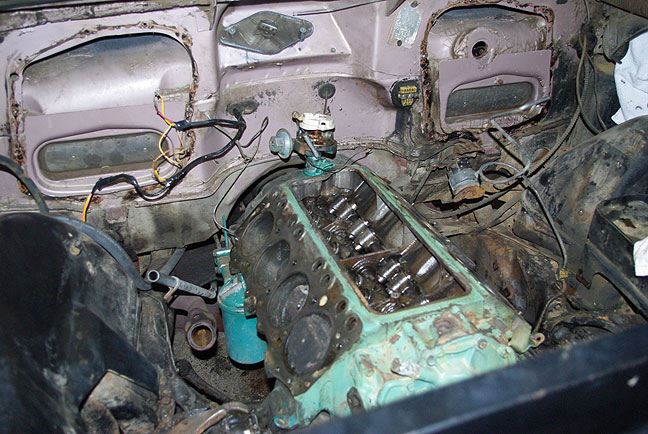
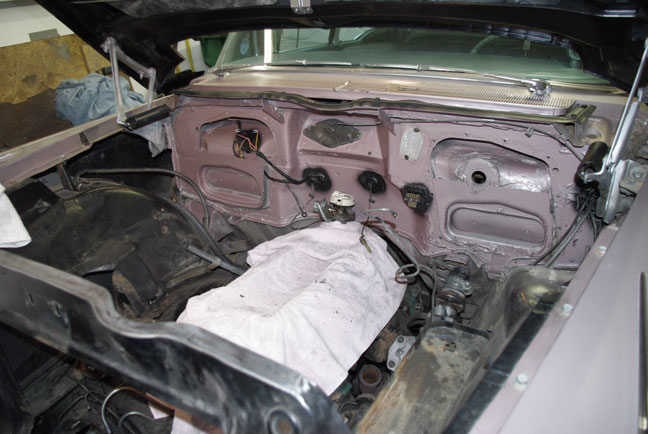
Firewall is painted. Ground strap is reinstalled. Steering box is installed...hopefully I figured out how to reconnect that copper band in there right. I have a feeling I'll be installing a jumper wire in there after I get everything else put together.
Time to start working on the black painted areas. This week will be pretty much a wash for car work, though. It will have to wait until the weekend...unless I get lucky at work. Yeah right..
Re: My new Roadmaster 4 Door
Posted: Sat May 18, 2013 9:32 pm
by Smartin
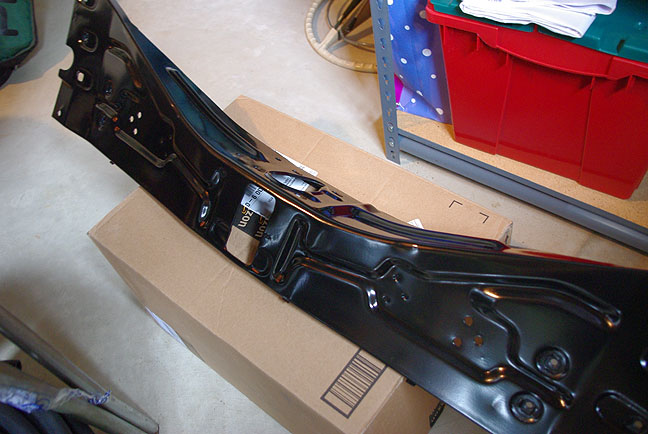
Inner fenders and core support are painted black. It's nice to see some uniform color on this thing, finally!
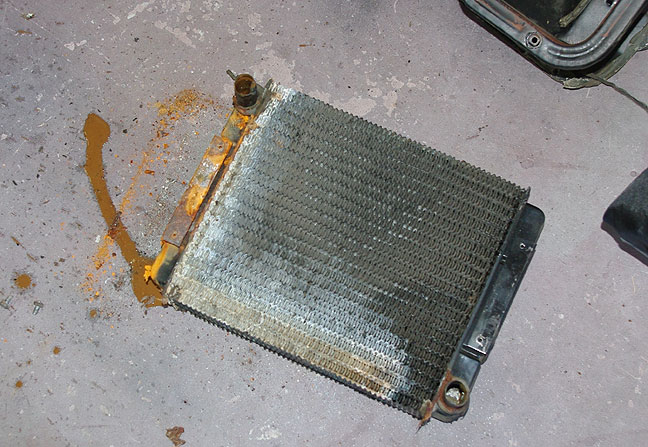
I also installed the heater core and buttoned the interior up at the kick panel. Fuel pump is installed.
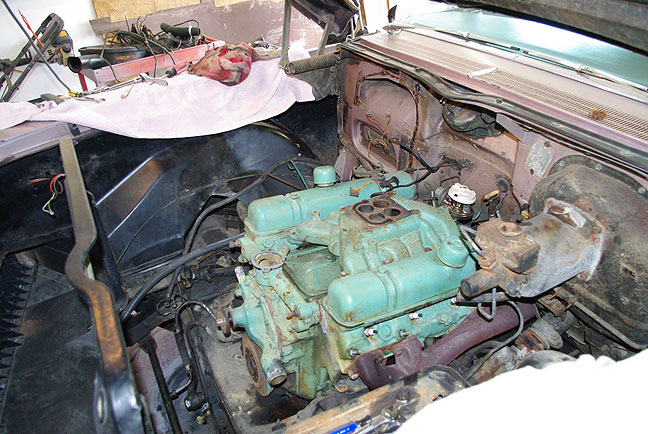
Tomorrow, I hope to be able to get the engine back together so I can paint and continue reassembly.